Sewing Faye Swimsuit by Closet Core in Econyl Lycra
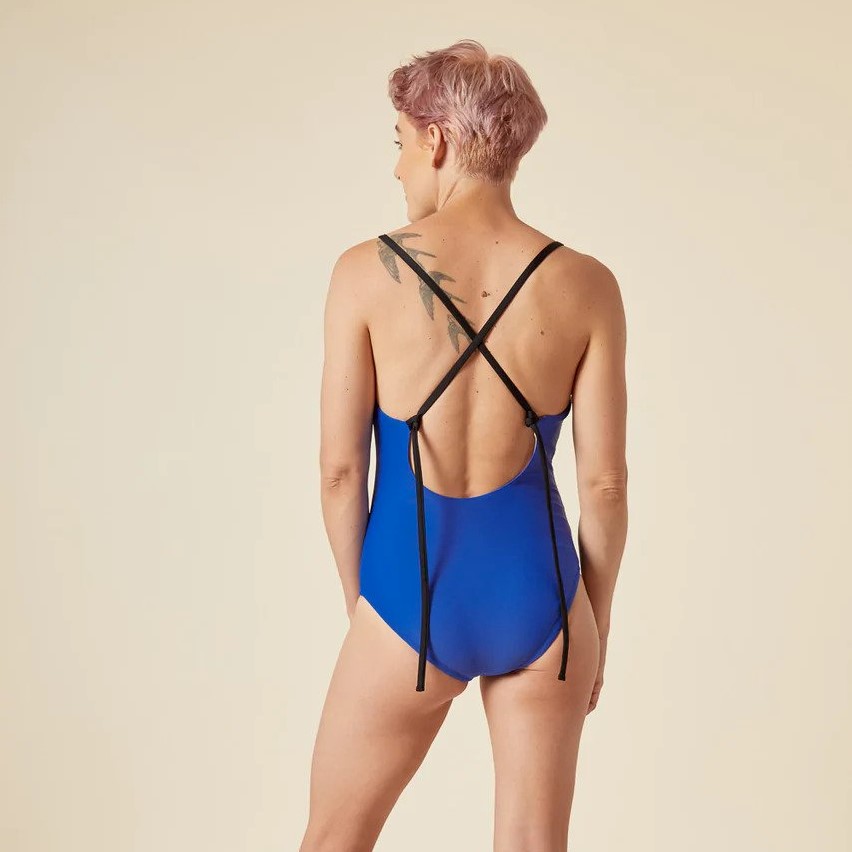
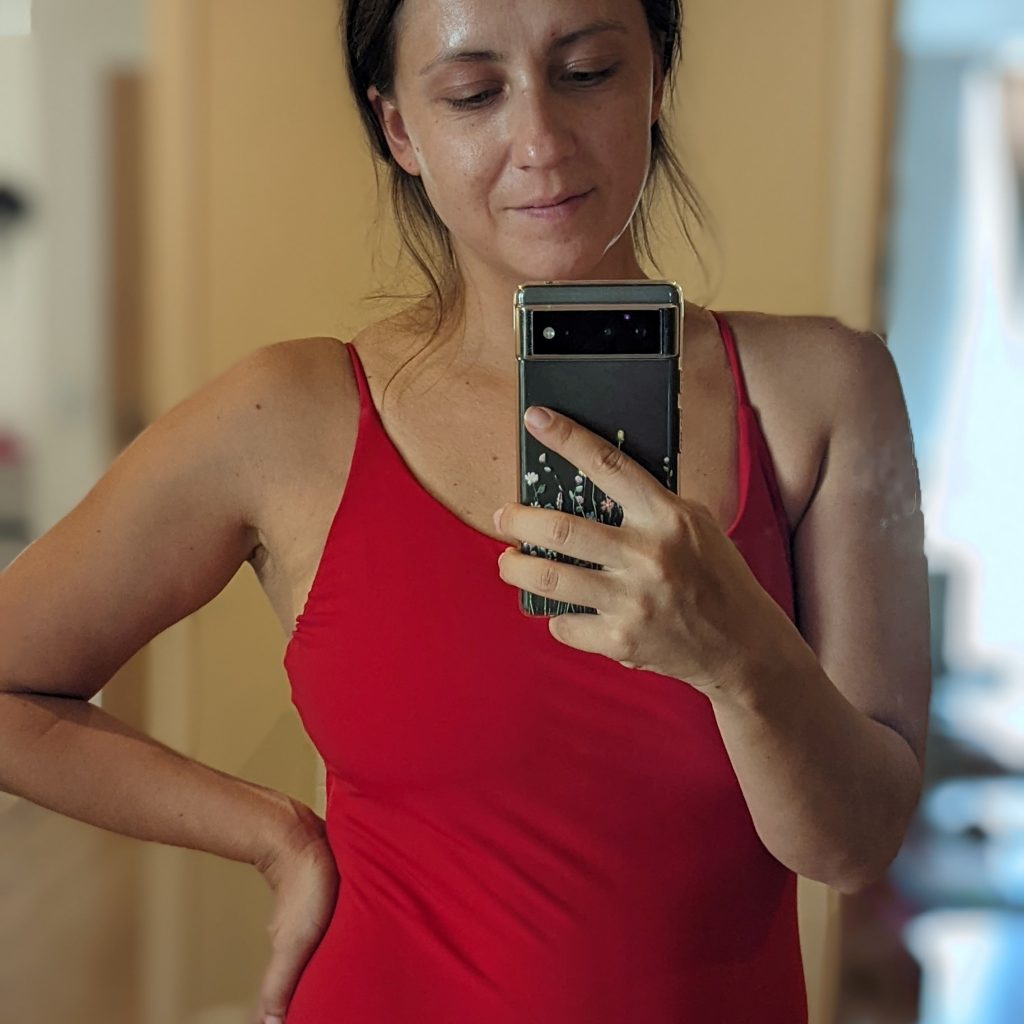
Hi, I am Polina, founder of Good Fabric, a long-time sewist and sustainable enthusiast. I recently created a beautiful Faye swimsuit by Closet Core and wanted to share the journey with all of our lovely readers. Please bare with me whilst I take some on-the-body pictures, but for now let’s get into it!
Sewing the Faye Swimsuit
I’d like to start by saying I’m definitely not the best sewist in the world. Sewing is a hobby of mine and I do love it, but I’m no expert. However, creating this swimsuit taught me a lot – like, a lot – and really honed my skills whilst still being super fun to make. I wouldn’t say it’s the best for complete beginners, but you don’t have to be really confident in your skills either.
The Faye Swimsuit Pattern
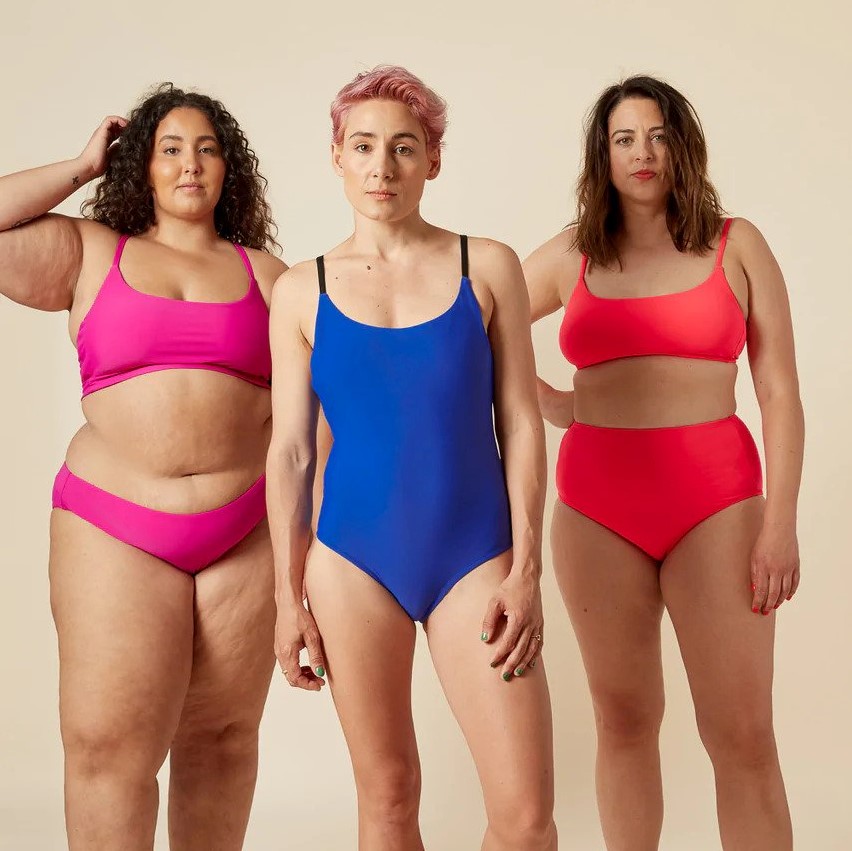
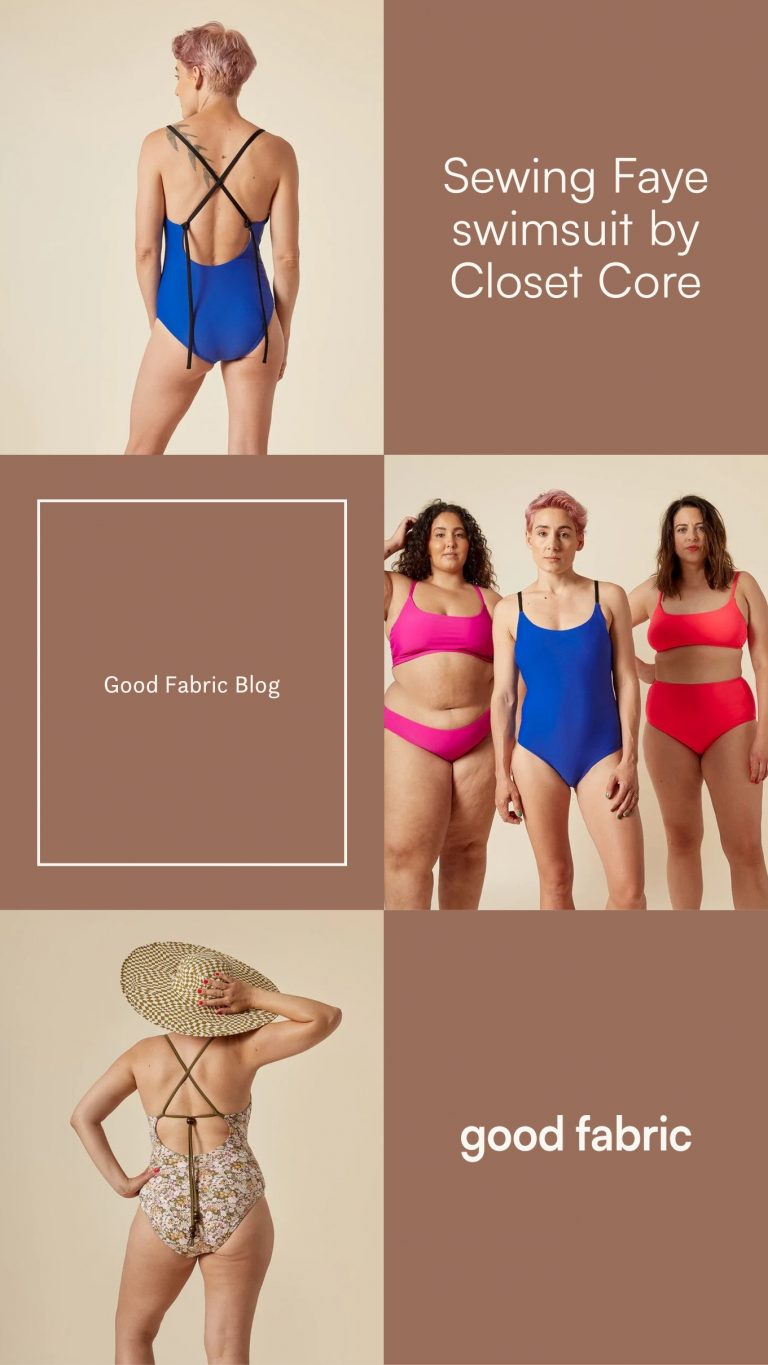
To create the swimming costume, I used the Faye Swimsuit Pattern from Closet Core Patterns. This versatile pack comes with three different options:
- View A – High-rise bikini bottoms and bikini top
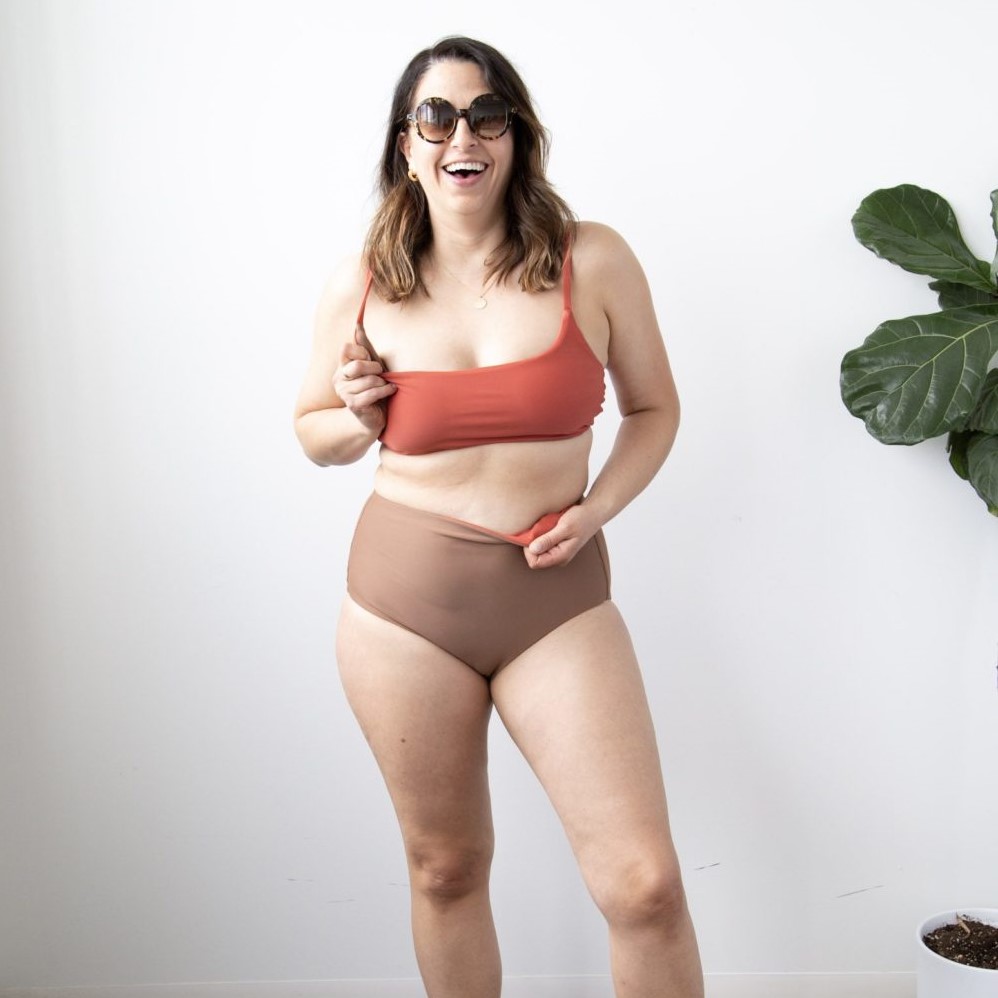
- View B – Low-rise bikini bottoms with a sporty-style bikini top
- View C – A full-body swimsuit with a deep scoop back
I opted for View C, which definitely provides the most coverage. I adore the clean lines and seamless look, along with the under-bust elastic that’s hidden in the lining to provide plenty of support. The fact it’s got a higher front was a bonus!
Before the pandemic, I went on holiday wearing a low-cut swimsuit, which didn’t pair well with having to run after a toddler all day every day. Having to constantly check you’re not flashing everyone really takes away from the relaxing appeal of going abroad.
Flashing stories aside, this is a stylish, cute, and supportive swimsuit sewing pattern. If you don’t want to worry about feeling naked on the beach, this is the pattern for you!
My Fabric Choice
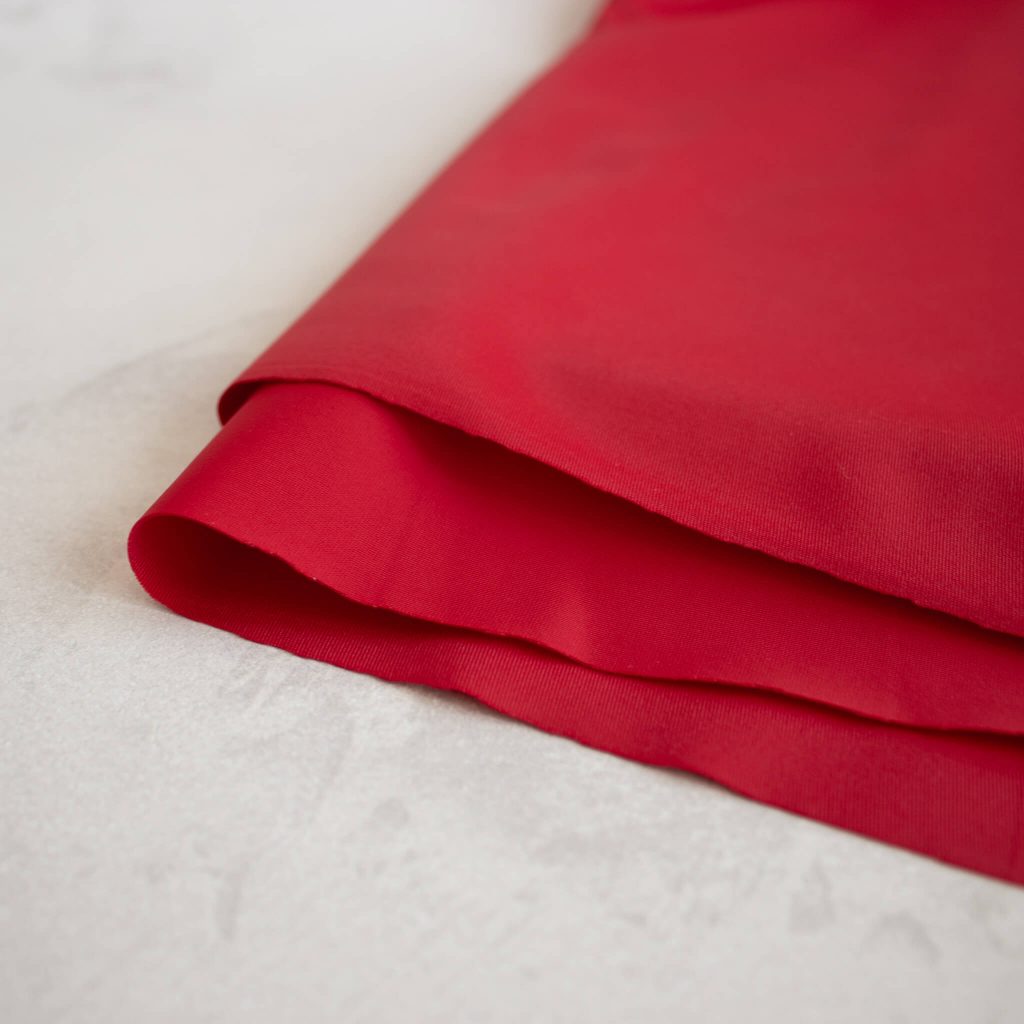
For the swimwear fabric choice, I couldn’t resist channelling my inner Pamela Anderson and opting for a sexy Baywatch Red Econyl Lycra. If you want to turn heads and make a statement, this is the colour choice to go for. Our Econyl Lycra is super lightweight, breathable, and perfect for swimwear.
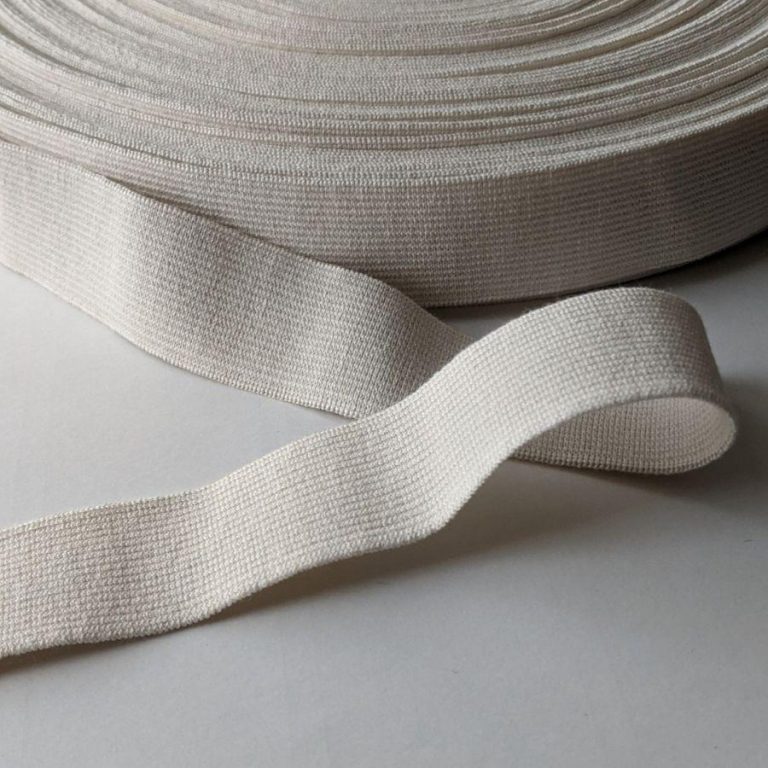
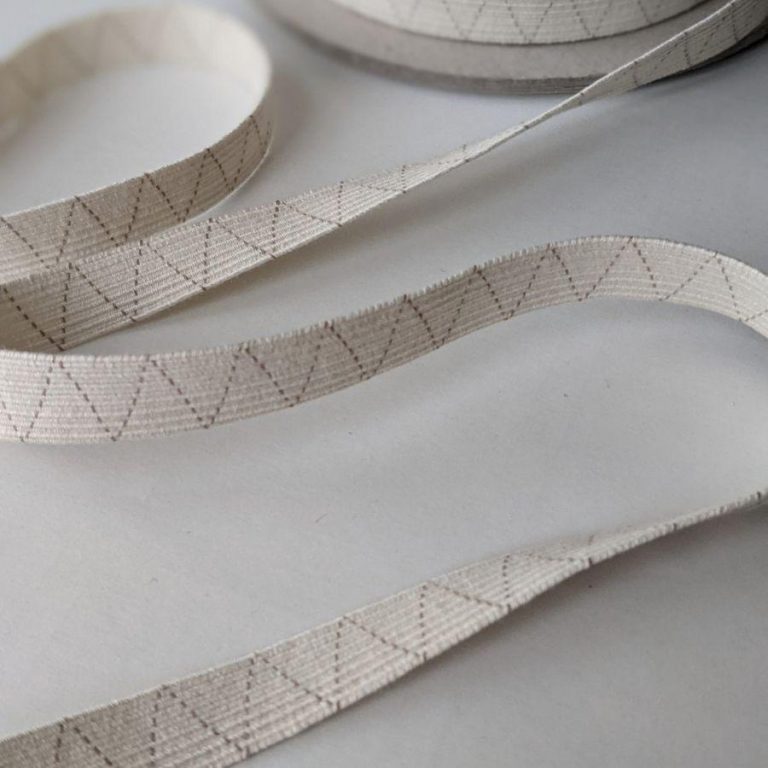
I also used 28mm Organic Cotton Elastic for the bust support.
Any Pattern Modifications?
Fortunately, I didn’t have to make any pattern modifications. None, zero, nada! I made a size ten, and the patterns fit me perfectly, which made the whole project so much simpler. For reference, if you’re in between two sizes, I’d opt for the smaller size. The stretchy Econyl Lycra will ensure it fits.
Post-Sew Analysis: The Good
Okay, so I’m going to run through what I enjoyed about bringing this pattern to life and which areas were a bit of a pain. If you’re making Faye swimsuit yourself, this should help prepare you for the tasks ahead! Let’s start with the good.
1. Zigzag Stitch Guide
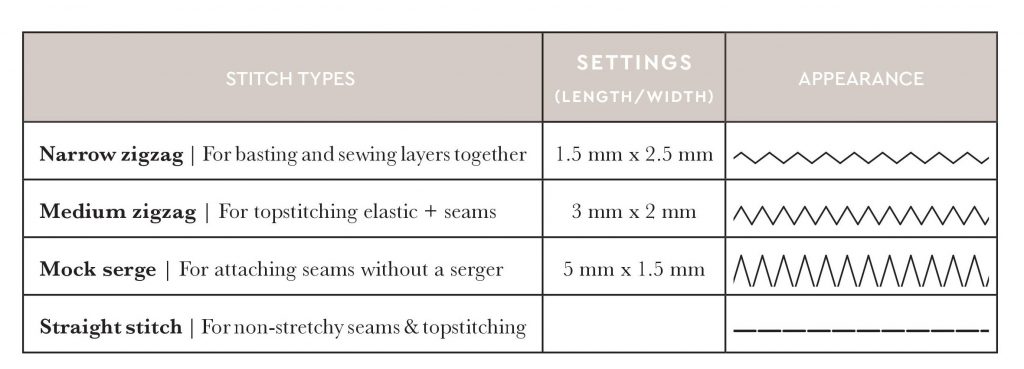
I never know which zigzag sizes to use when sewing stretchy fabric. Luckily, this pattern comes with its own handy guide that you can refer back to throughout sewing – hooray! The guide details the width and length you’ll need for different styles of zigzag stitch and what they’re used for in the project. I mainly used the medium zigzag, which looked super neat and very cute, too!
2. Double Fabric, Double Support
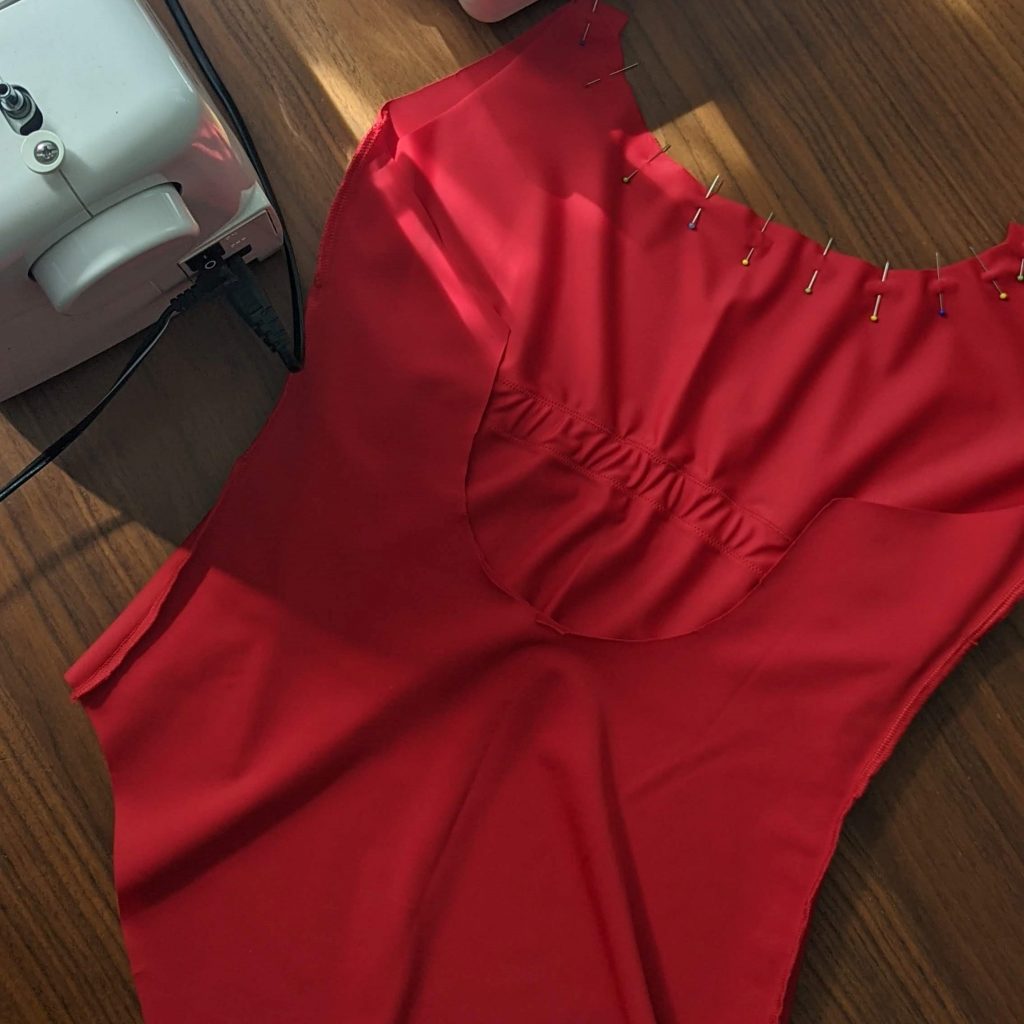
You may have noticed that I love a bit of support in my swimwear for all areas of my body. It’s just more comfortable! So, to boost this swimsuit’s support, I used the Econyl Lycra both inside and out instead of opting for lining fabric. This also prevents any see-through swimsuit mishaps, which was an added bonus.
If you’re the opposite of me and prefer a more freeing feel, take a peek at our swimwear lining options. Super durable and ultra-thin, it makes for a comfy, lightweight swimming costume that won’t become see-through in the water.
3. No Bits and Bobs
With lingerie, bags, jeans, and other more fiddly projects, you need so many tiny bits and bobs. From rivets and rings to sliders and pulls, it can be a bit of a nightmare. At least in my opinion, anyway. So, I was absolutely thrilled when I found out that you don’t need anything else for this Faye swimsuit: just your swimwear fabric and elastics.
I’ll be honest with you – sometimes, I don’t take on a project simply because there are too many tiny, fiddly bits that I just know I’m going to struggle with. But for this pattern, there was no excuse! In fact, I ended up loving the making process, which isn’t always the case.
Post-Sew Analysis: The Bad
I absolutely love this swimsuit pattern, and I couldn’t sing its praises enough, but as with everything, the project wasn’t perfect. There were a few elements I wasn’t so happy with (through no fault of the pattern!) that I’ll get into now.
1. Bar Tack
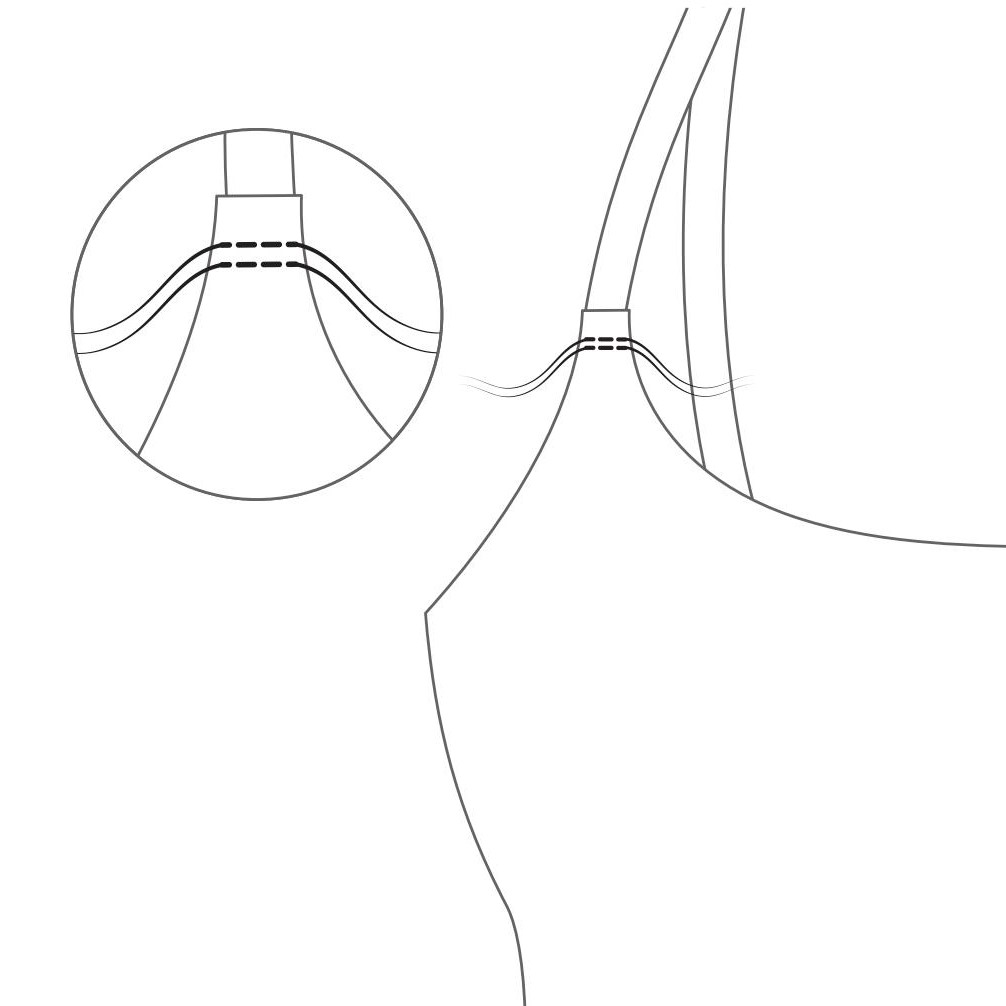
This is the area of the swimsuit I’m least happy with. Bar tack is a two parallel rows of straight stitching, 3mm apart that’s used to reinforce areas of high stress. Well, I was most definitely stressed!
Once you attach the swimsuit straps and are happy with the fit, you need to secure them so that they don’t snap off whilst you’re swimming. This means you need to sew through two layers of fabrics and your elastic, all at once.
No matter how hard I tried, I could not sew like this in a straight line! My machine didn’t like having so many layers, which meant that I had to push and pull the fabric a bit. The stitching started going in every direction other than straight, and to say I was frustrated is an understatement.
Next time, I think I’ll draw a straight line onto the fabric before I begin. This should work as a guide, making the whole process a lot easier.
2. Getting the Tension Right
The front and back elastics are sewn without any tension, which was a breeze. But the side elastics do need some tension to provide support and keep everything in place. If you’ve been blessed with a bigger bust, you’ll need more tension to hold them in the swimming costume.
I had to re-do this part twice, each time pulling the elastic more and more. I managed to get the fit about 90% right but would probably pull even more next time to prevent any side gaping.
3. Understitching
In the simplest of terms, understitching means that you’re stitching your seam allowance into the lining. This is actually pretty simple because you can iron the allowance down, making things nice and neat. But, of course, I had a huge amount of difficulty this time!
No matter what I did, the seam allowance just wouldn’t stay down towards the lining. So, I had to meticulously pin the seam allowance down using about a million pins. It took a very long time, but there was no chance I was going to let the understitching ruin my gorgeous Faye swimsuit!
Some Extra Tips and Tricks
If you’re thinking of making the Faye Swimsuit, hopefully, these little experiences I’ve shared will help you along the way. I’d also recommend checking out Closet Core’s own Tips for Sewing Swimwear, which has plenty of advice for sewists making a swimsuit for the first time. They also have a blog on how to sew the pattern to create a reversible swimsuit, which is super cool! If you do give it a go, let me know how it turns out, as I’d be very interested to know.
Final Words
Although I had some tricky moments when making my Faye swimsuit, I did enjoy most of the process and was so happy with the outcome. It was actually one of the most enjoyable sewing projects I’ve ever done, which is a big statement.
Usually, when I create something, it takes me a long time to fall in love with it. I’m very bad at focusing on all of the flaws and not looking at the garment as a whole, so it can be hard not to dislike it. But, with this swimsuit, I was so happy as soon as it was finished. It’s exactly the kind I’d pay for in a shop, and I seriously couldn’t have asked for a better pattern.
Create Swimsuits From Our Sustainable Swimwear Fabric
At Good Fabric, we stock a wide range of sustainable fabrics, including for swimwear. Be sure to check out the full range, and let’s get sewing!
Shop the fabrics featured in this article
More like this
Dive into another sewing blog from Good Fabric
Good Fabric, great offers
Subscribe to the Good Fabric mailing list for more sewing blogs, just-dropped sustainable fabrics, juicy promotions and 10% off your next order.
