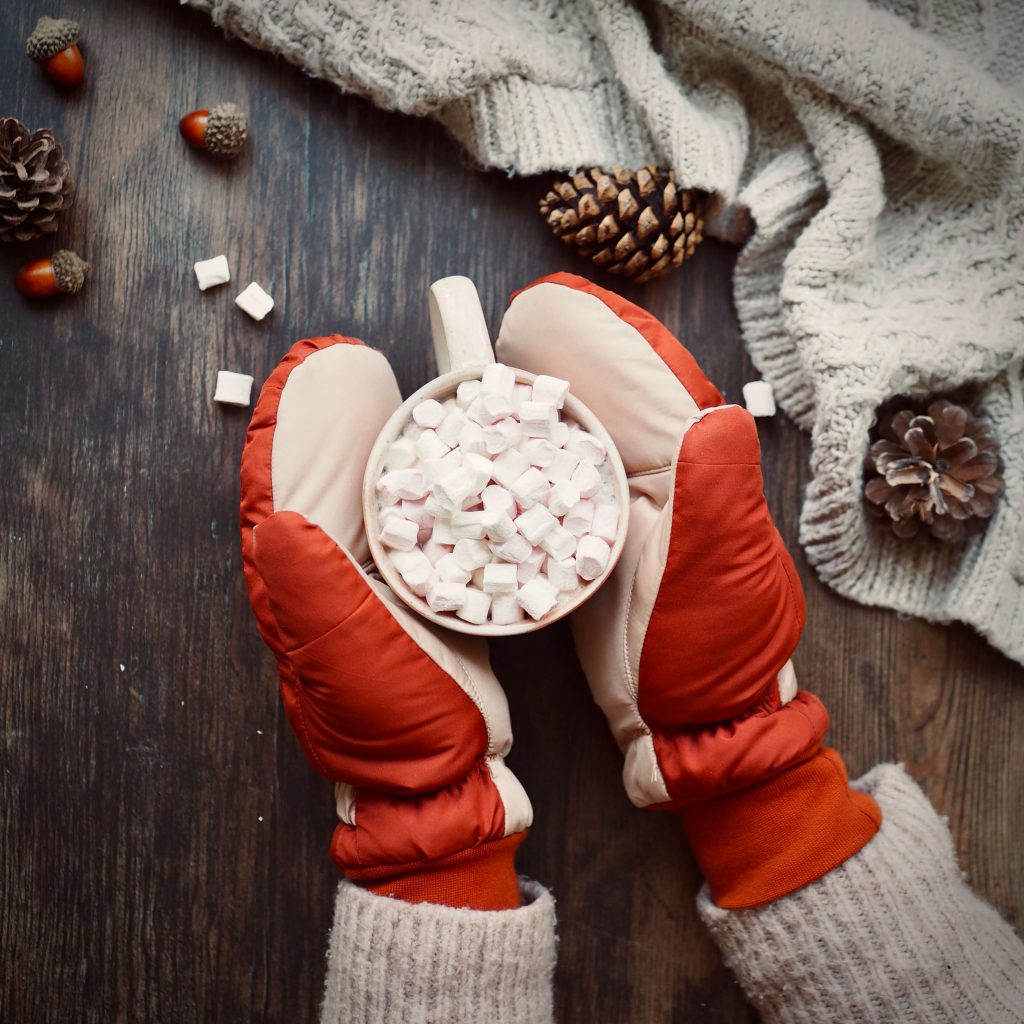
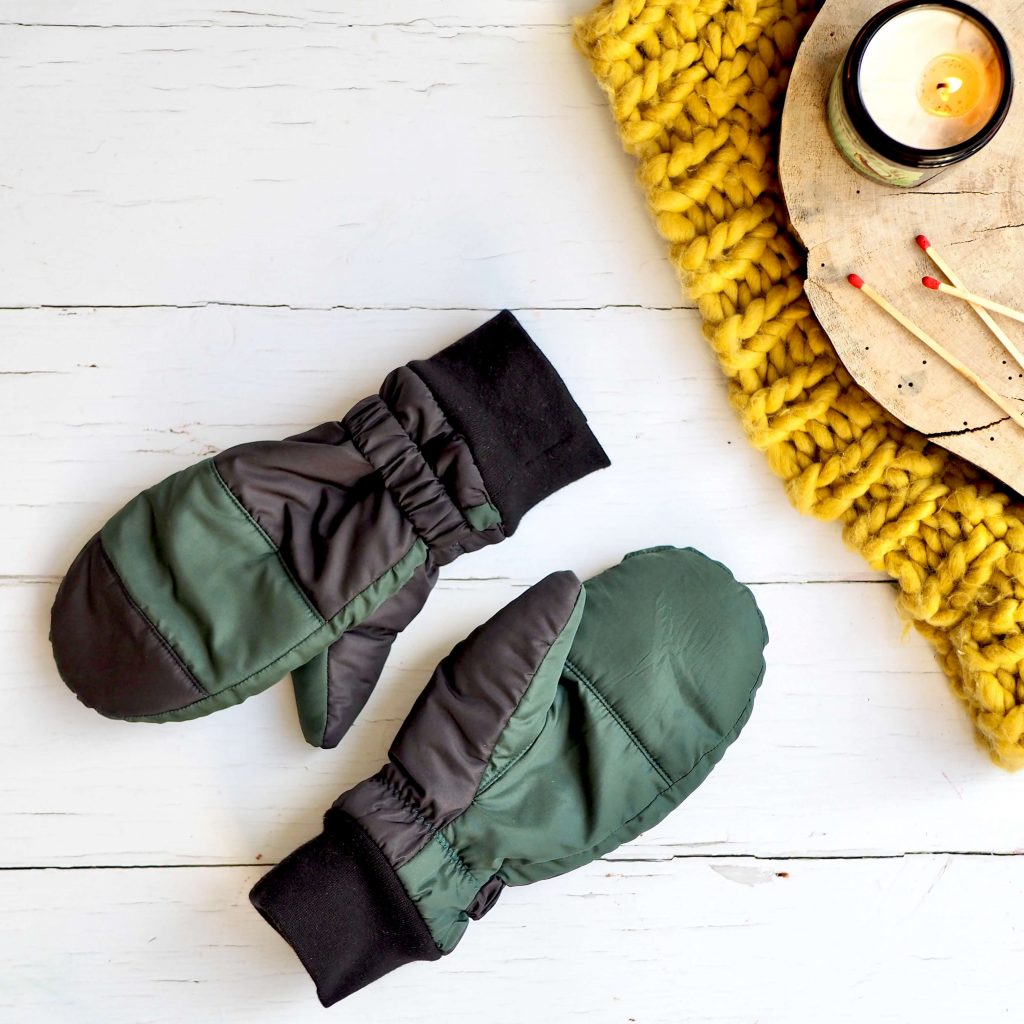
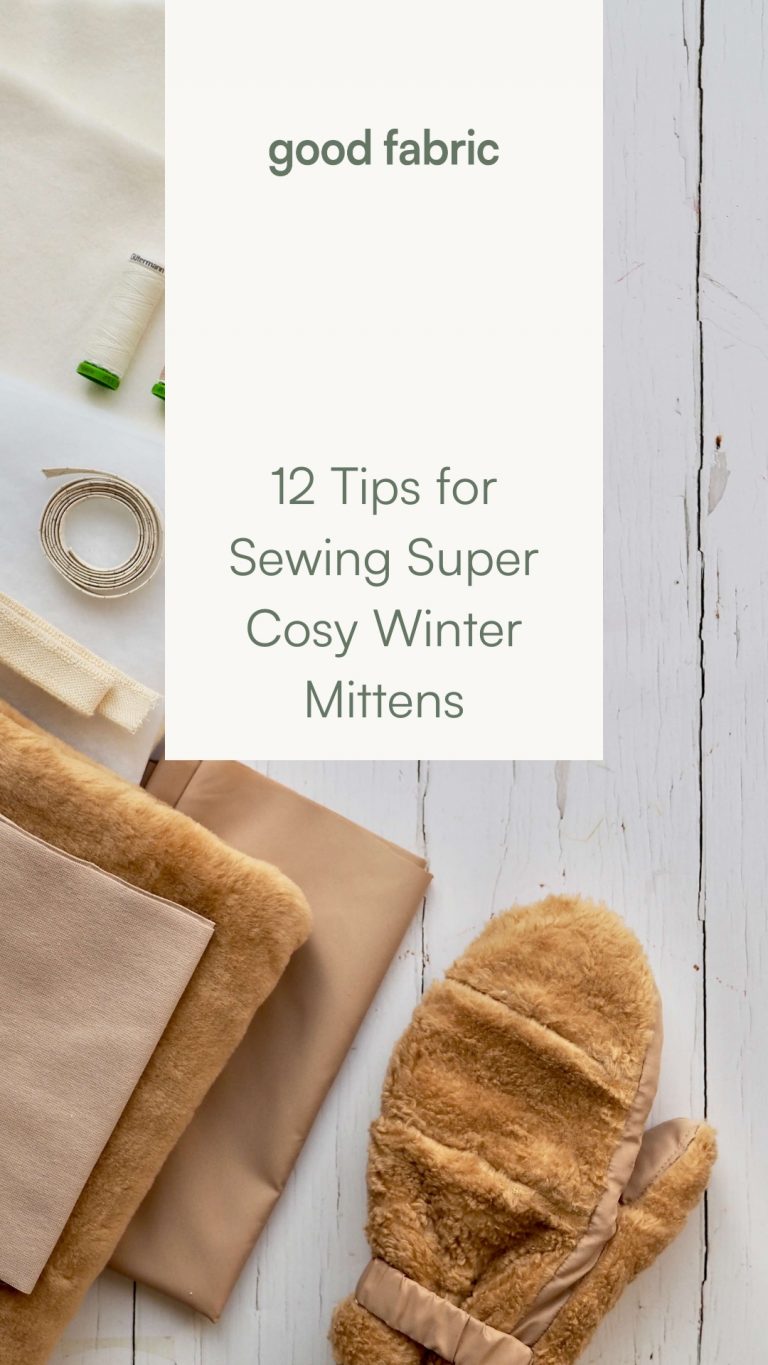
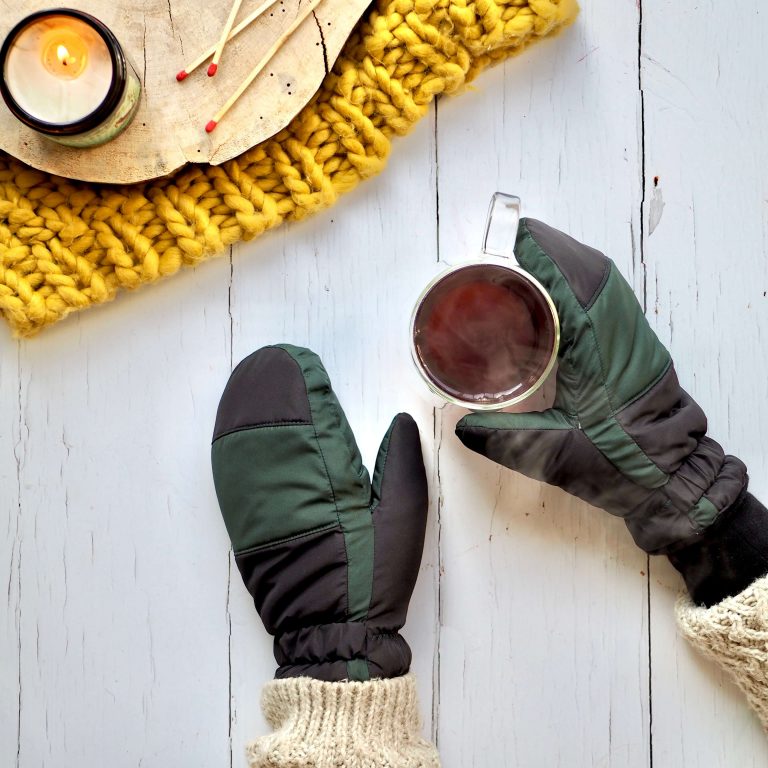
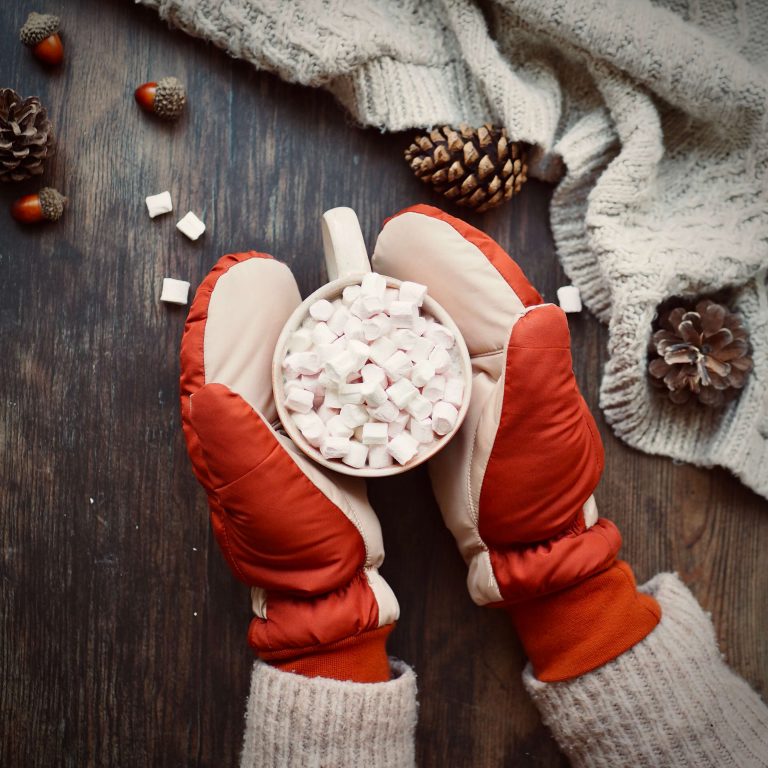
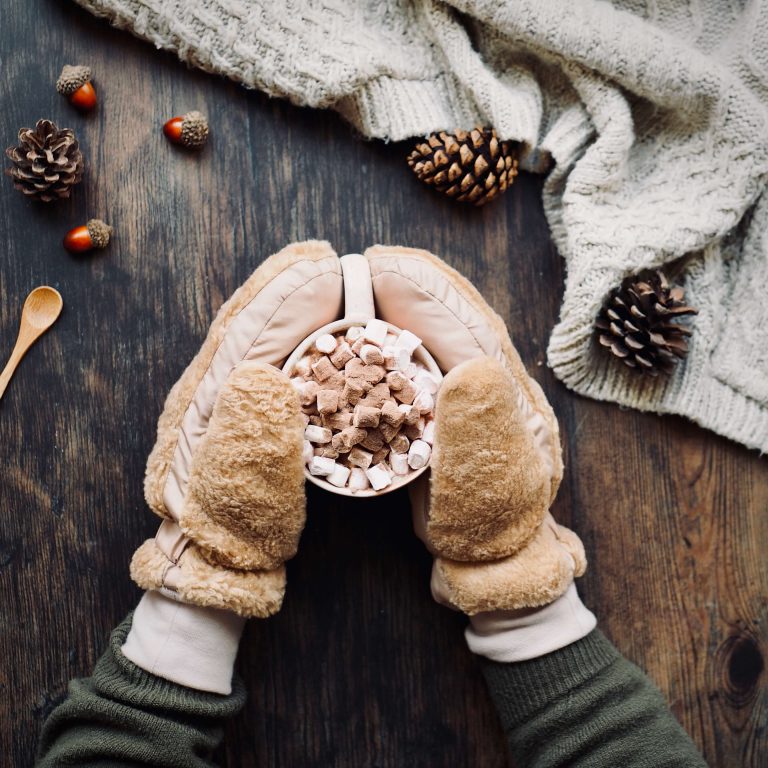
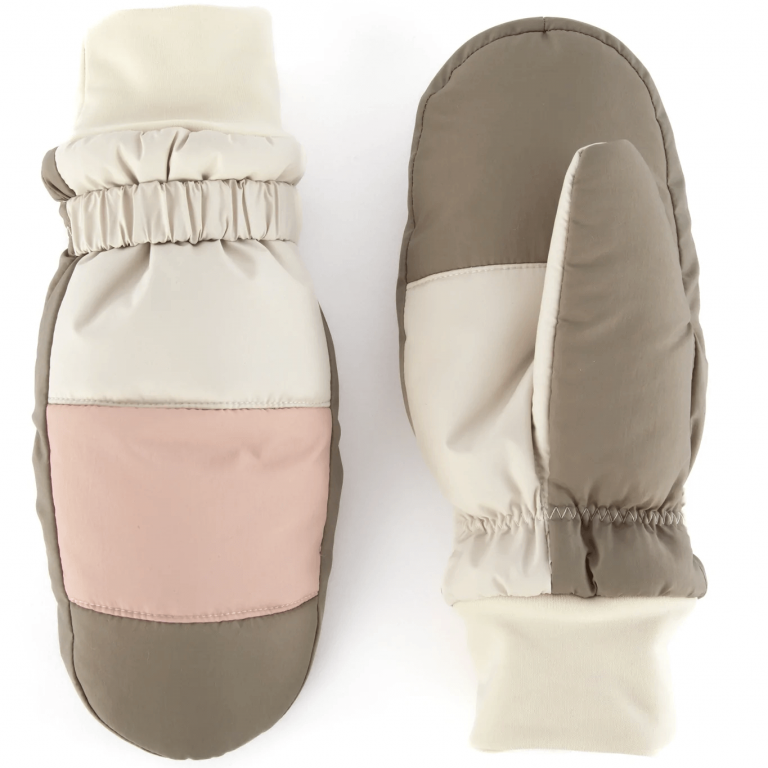
If you’re anything like us at Good Fabric, winter mittens are a must in the colder weather. Toasty warm and super cosy, they’re the perfect way to keep the chill from your hands! It just so happens that they’re rather easy to sew, too, making for a perfect project to get you through some of those dark, icy evenings. Snuggle up with a cup of tea (or a glass of mulled wine if you’re feeling cheeky) and start sewing your own pair of sustainable winter mittens with our top tips!
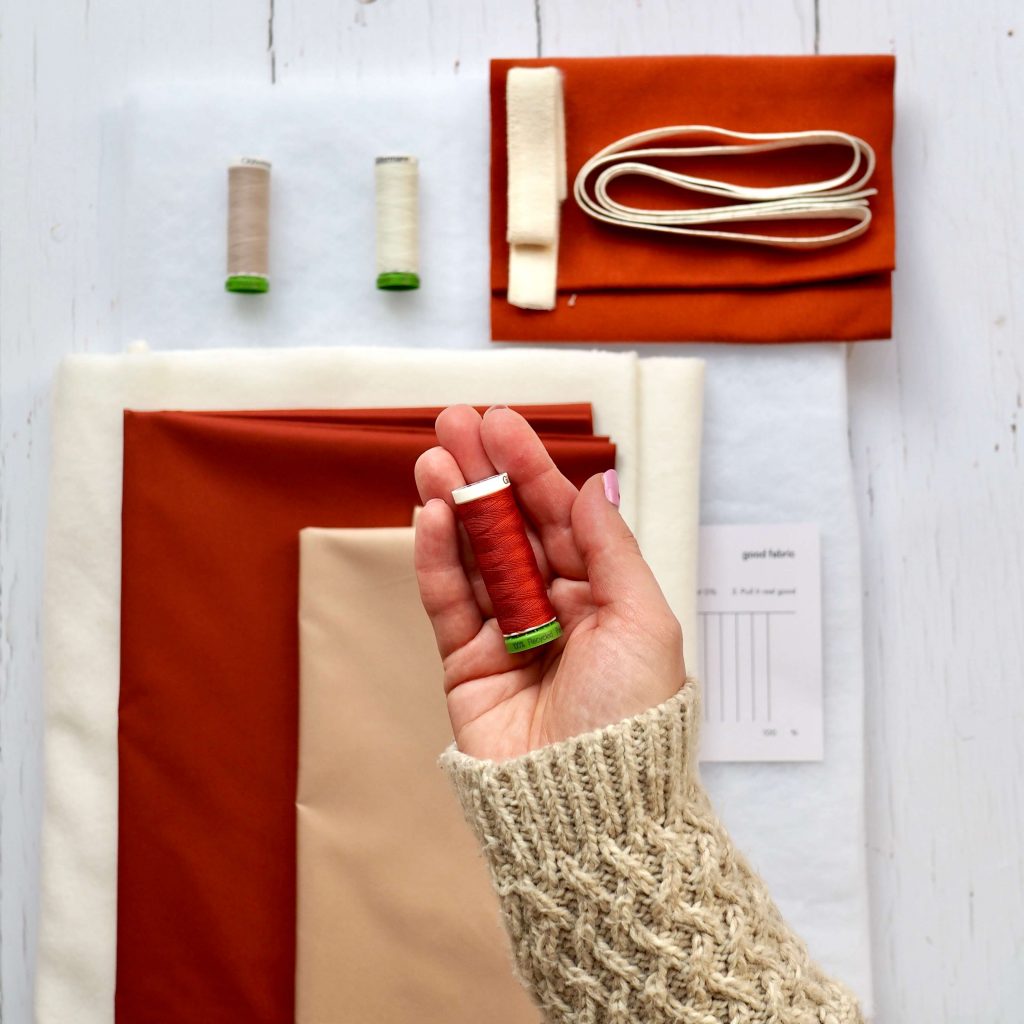
We’re basing this advice on our experience working with our winter mittens sewing kits created specially for Jalie Mimi insulated mittens sewing pattern. With everything you need to make your own pair in either one or two colours, it’s a great kit to kickstart your mitten sewing journey.
1. No Complicated Assembling of Your Pattern
One of the reasons we love the Jalie Mimi sewing pattern is that it’s super easy to put together. Unlike other patterns which come in what feels like hundreds of pages that needs assembling, this one only has two that need taping! Literally, all you need to do is print out the PDF patterns on A4, tape 2 together and cut out your size. It’s a stitch (excuse the pun).
2. No Need to Iron
A lot of sewists find ironing the most tedious part of the process. We must admit, there isn’t too much fun in removing creases from fabric! When sewing your winter mittens, though, there’ll be absolutely no need for ironing, helping you get cracking with the sewing as quickly as possible.
3. Always Read the Instructions
So this may be a bit of a tired tip, but please, please, please read the instructions! We know it can be super boring to go through the step-by-step, but they’re there for a reason and will make the project so much easier.
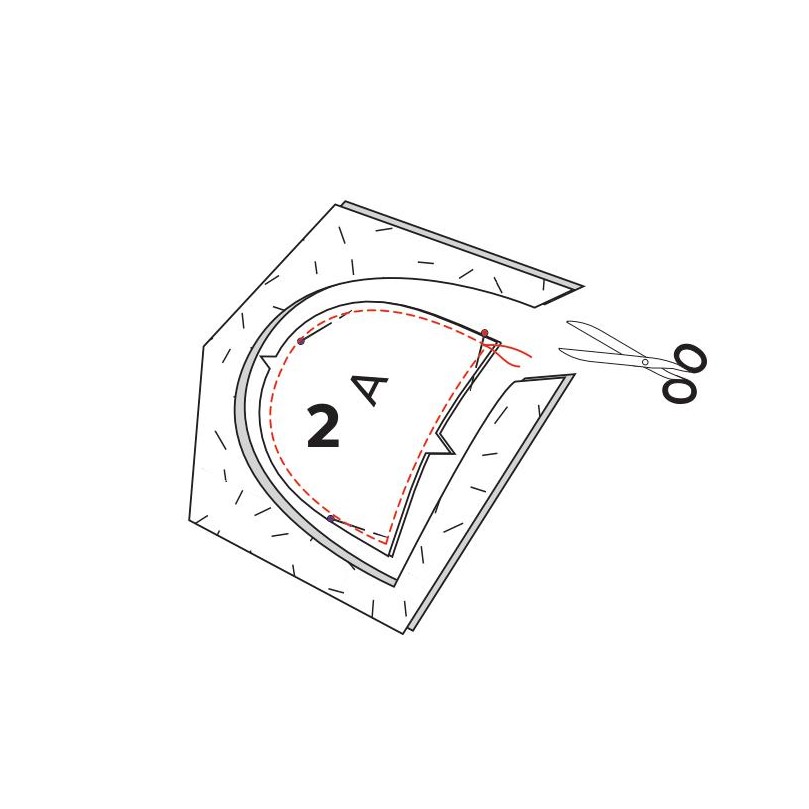
One member of the team (cough cough, Polina, cough cough) skipped the instructions and didn’t read the first step that explains how to sew batting to the outer fabric. Did it make the project a whole lot harder? It sure did! All you need to do for this step is pin the outer fabric to the batting and cut each section, leaving some extra batting fabric around the edges. Sew the pieces together before trimming the excess to make it easier to slide the fabric under the feed dogs. So simple! Yet without the instructions, it’ll be a whole lot harder.
4. Use Long Pins
It’s wise to use the longest pins you have for this project. You’ll be dealing with a lot of layers and quite a thick wad of fabric, so small pins just won’t do the job.
5. Don’t Trim Your Outer Notches
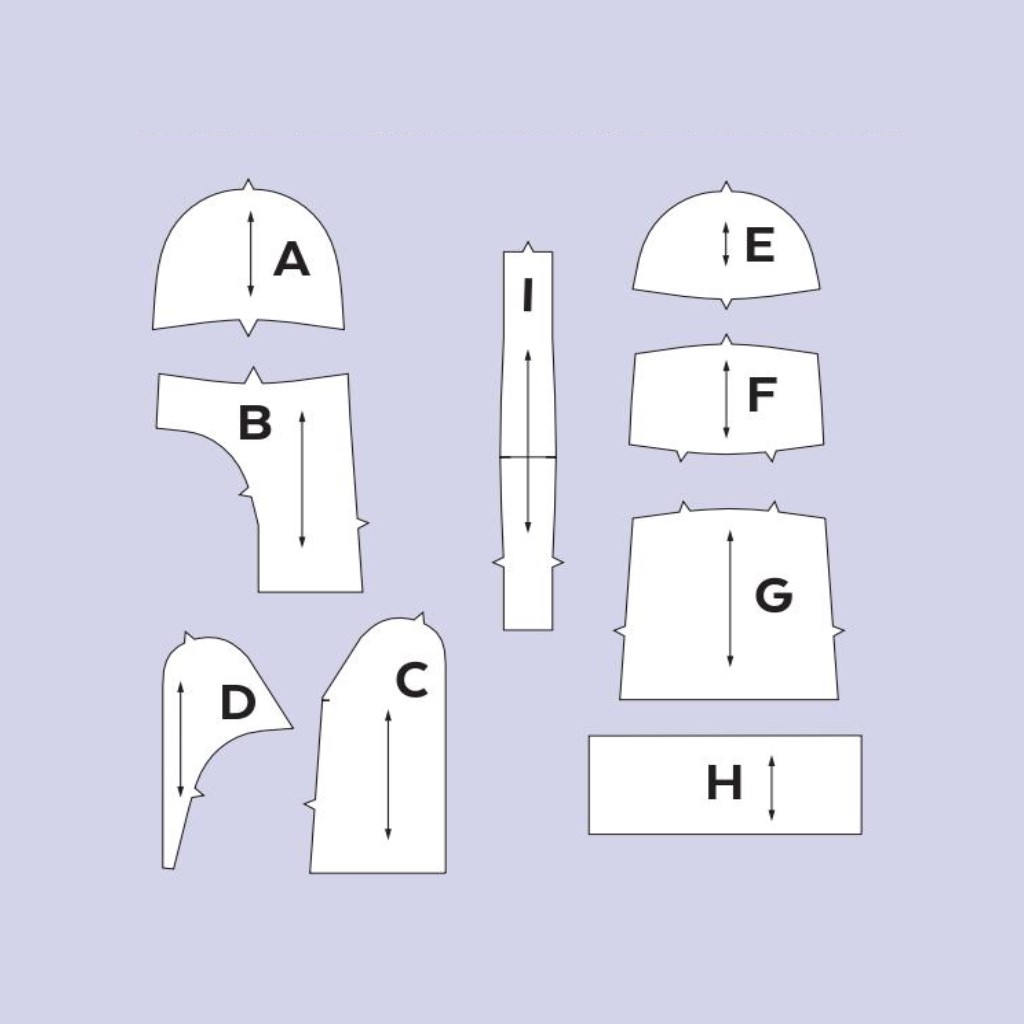
You’ll see on the pattern that it has outward notches. These are super useful for matching your pattern pieces, of course, but do remember that you’ll be sewing over the base of the notches to attach the pieces together. Whatever you do, don’t cut them differently to the pattern or trim them, or you’ll risk making a bit of a mess of your mittens.
6. Choose a Longer Stitch Length
Just like longer pins, it’s also smart to work with a longer stitch length. Change your stitching speed to the lowest setting, too. Because the pattern pieces are so small and you’re using a longer stitch, it’s super easy to overestimate your speed and go over the edge. Take it slow and steady for a neater finish.
7. Double Check Your Size
This pattern comes with a great size guide and a whopping 17 different sizes to choose from! If you often have longer nails, take this into account when measuring to make sure your winter mittens will fit.
8. Label Your Pattern Colours
We absolutely love that you can mix and match the colours of your mittens when using this pattern. Who doesn’t love a jazzy glove? But it does make it super easy to get muddled up with which colour goes where. To avoid any confusion, we recommend printing out a sketch of your pattern and labelling each piece according to the colour you’ll be using for it.
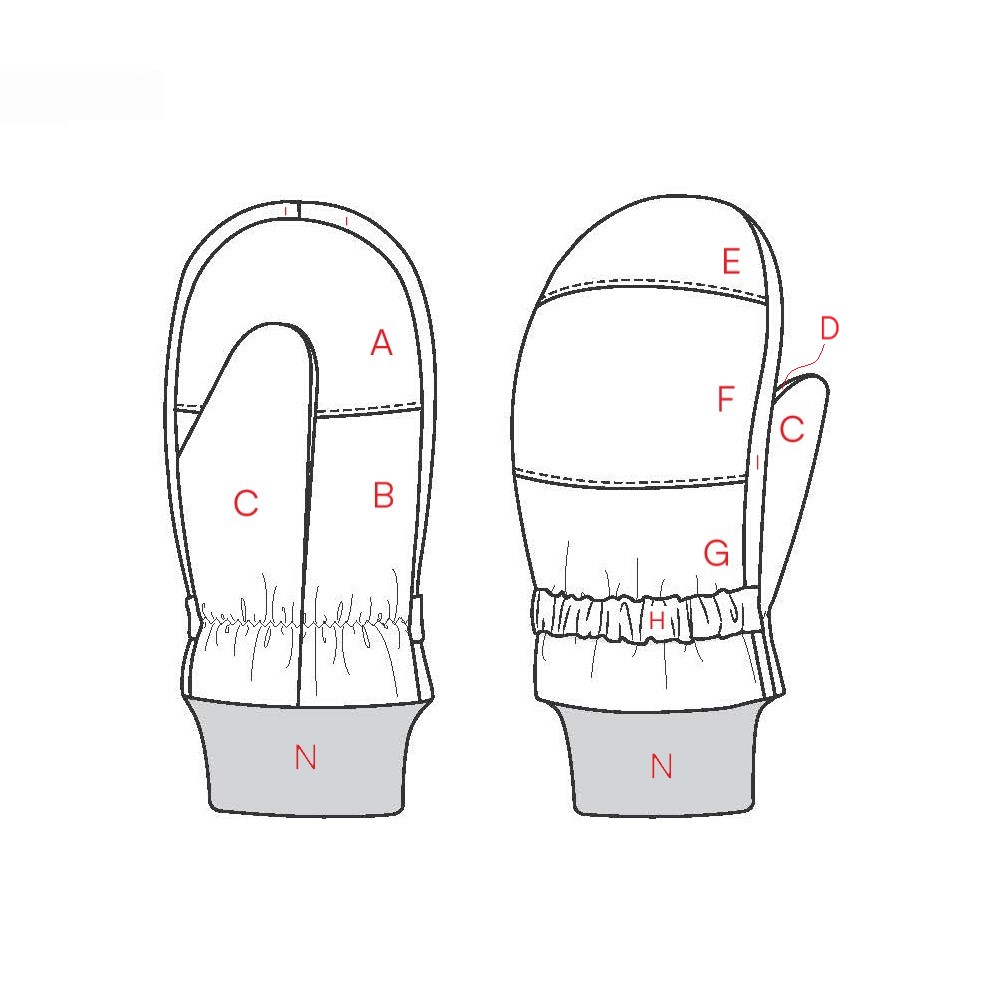
9. Be Aware of Switching Threads
If you’re making your mittens in one solid colour, this is a great batch sewing project. Make mittens by the hundreds, if you want. But, do be aware that there’s quite a lot of topstitching involved, so you’ll need to change the threads fairly often if you’re using multiple colours to match each section. A sewing machine that can hold different coloured threads is a lifesaver here. Otherwise, you’ll have to do the switch manually, slowing down the process.
10. Video sew-along
For visual learners, this pattern comes with some very good news! We’ve found a brilliant video tutorial on Jalie.com that’ll show you how to make your mittens following the pattern instructions. Even if you’re not a visual learner, it could be a good idea to give it a watch before you start just to get yourself familiar with the process.
11. Make Plush Teddy Mittens
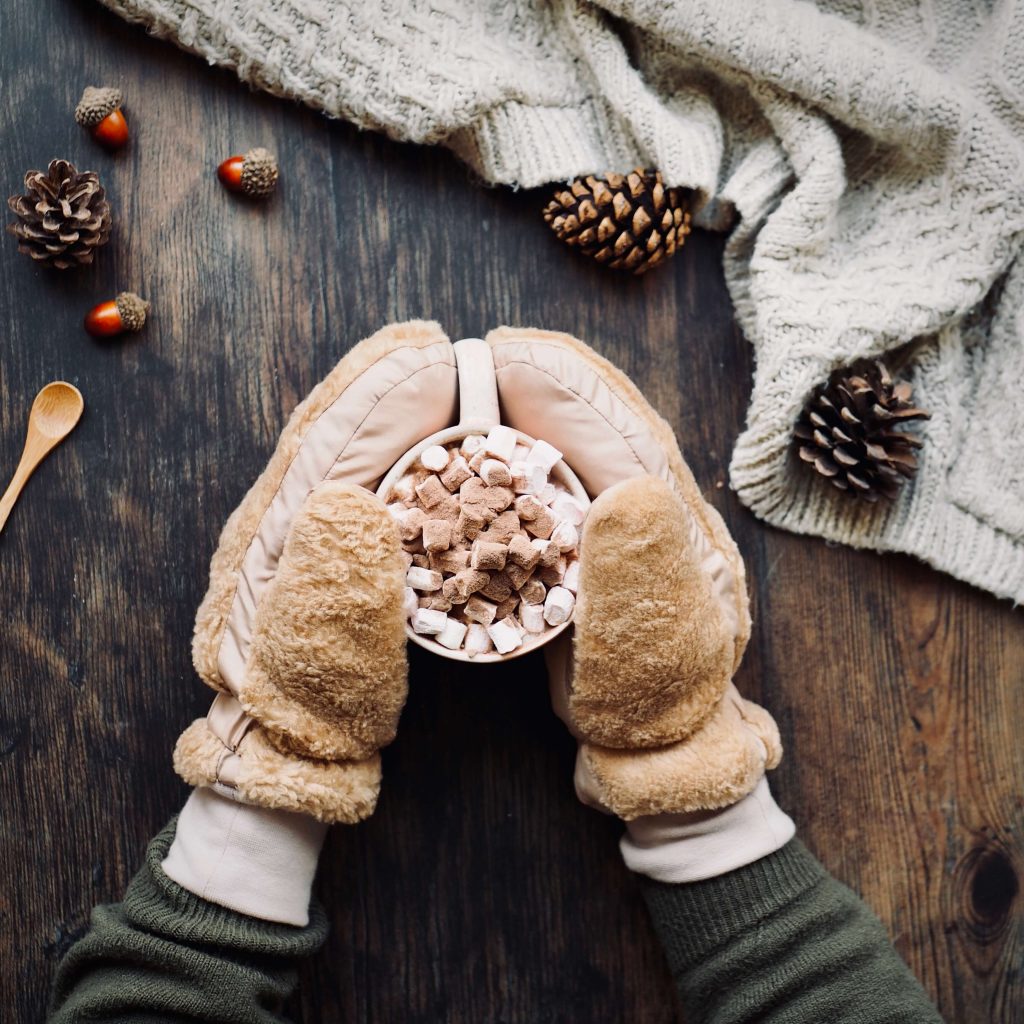
Using a soft, teddy fabric is a wonderfully warm choice for your winter mittens. You will, though, have to give your seams a little haircut after you’ve sewn them! Trim loose threads and keep your hoover on standby for post-haircut cleaning. It’s also not necessary to do top stitching on teddy fabric if you don’t want to, making for a slightly quicker project.
12. Last But Not Least
The final step to creating your gorgeous winter mittens is to close the inside of the lining opening with some hand sewing, which isn’t unusual. But, if you really don’t like hand sewing and would rather rethread overlockers for fun, you can just leave it open! It may sound crazy, but it doesn’t really affect the mittens at all. The opening is on the inside so no one can see it, making it easy to skip.
Create Your Own Mittens
If you loved our 12 tips for sewing super cute winter mittens, it’s time to put them to the test. This is a great sewing project to do solo or with fellow sewists and can make wonderful presents for your family and friends. Be sure to share your final product with us over on Instagram, where you can find us @good_fabric_store and discover lots more useful sewing tips!
