Recently at Good Fabric, we’ve been mad about jeans. It’s denim galore over here. This all started when the new Heidi Jeans sewing pattern was announced by the lovely Jasmin over at By Masin.
Always keen to be pattern testers (we’ll never miss a chance to access lots of helpful advice directly from the designer and other keen sewists in the group), we jumped on the opportunity to take our needle and thread to this pair. That kickstarted a denim craze.
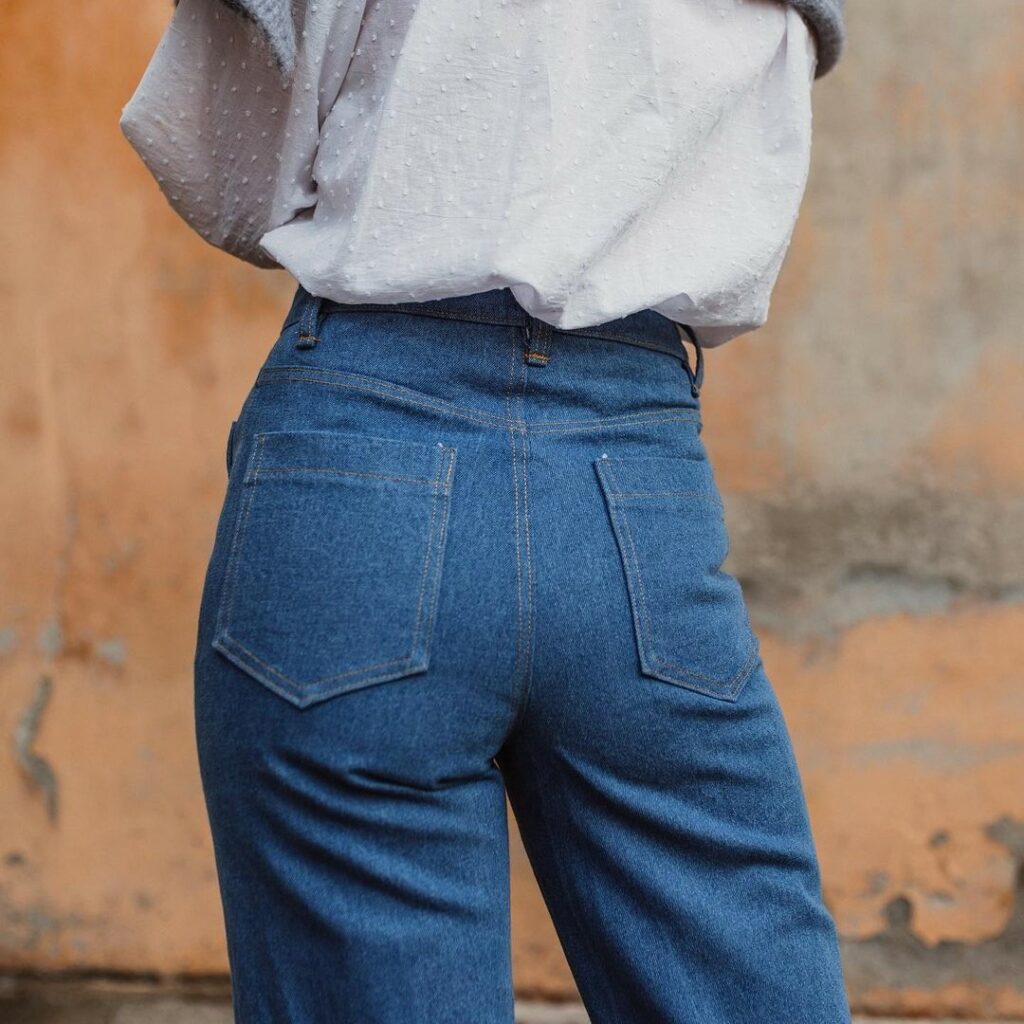
It also got us thinking about those gaping backs that so many people struggle with. You know when a pair fits perfectly around your curves, but is too big for your waist? Yeah, it’s a universal problem.
It makes sense that jeans don’t always fit quite right on the first try. With different figures and a material that doesn’t exactly stretch, they’re not going to cling to all your curves in the same way a stretchier fabric would. That’s why knowing how to adjust jean patterns is a superpower worth learning.
Get started with our tips on how to fix a gaping back on jeans and crack the code of flattering denim.
Start by Making a Toile
We know, we know – nobody likes having to make a toile. But, you can whip one up in 45 minutes and save yourself a lot of heartache down the road, making it a must when tackling a jeans sewing pattern.
Luckily, you don’t have to bring the entire look to life for a toile. Skip the waistband, top stitching, and pockets for a quicker make, and reduce the length to a pair of shorts. Your mock-up is just to gauge how well the pattern is going to fit around your waist, hips, and thighs, so we’d suggest a pretty fuss-free approach.
Now, some people might try the Heidi jeans sewing pattern (or any sewing pattern) and find it fits like a glove. But – as we mentioned – the lack of stretch in denim means that if your measurements don’t match the pattern standards, you’re going to be left with the challenge of how to fix a gaping back. That’s where our next tips come in.
How to Fix Gaping Back Problems
Fixing a gaping back in your jeans isn’t actually too tricky. We’ve got a quick step-by-step that you can follow, starting with your toile:
- Turn your toile inside out, put it on, and pinch together the excess fabric that you don’t need. Mark this either with tailor’s chalk or (carefully!) with pins
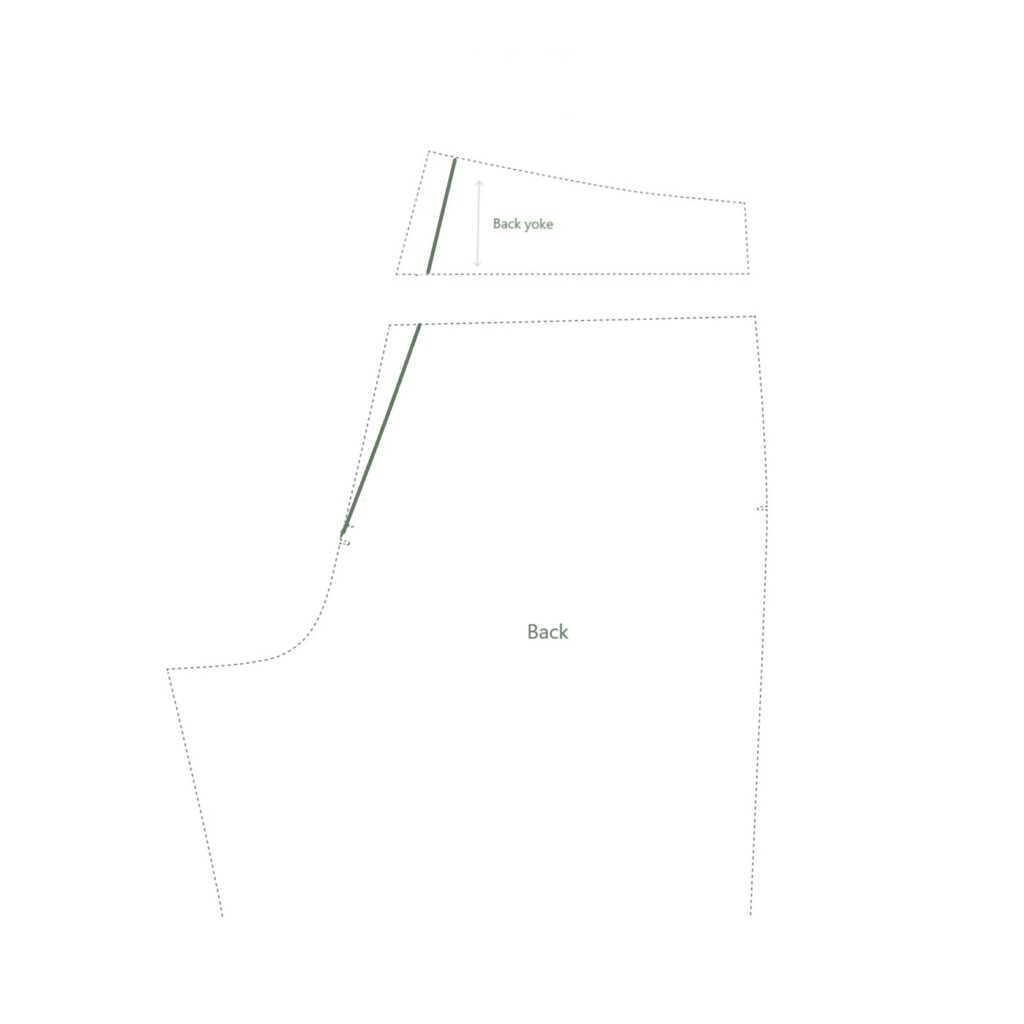
- Take off your toile and measure how much fabric needs to be removed from the yoke. In the images we’ve added to this blog, Polina has removed 2cm from the yoke.
- For a more secure measurement of your pinched fabric, you can also do a basting stitch to double-check you can still get the jeans on and off once you’ve adjusted the pattern.
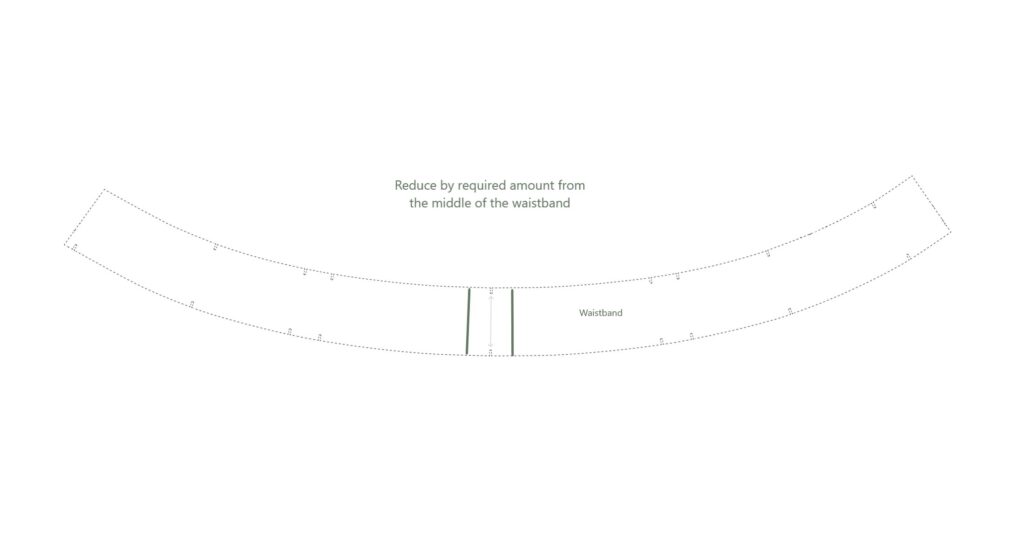
- When you’re happy with your new size, adjust the three pattern pieces (yoke, back legs, and waistband) for a seamless adjustment.
To translate your new sizing to your pattern, simply reduce the yoke by the amount you need for a perfect fit. For the back legs, gradually grade the size from the notches to the top, as per the green line.
For the waistband, remove double the amount you removed from the yoke from the middle of the pattern piece. So, Polina removed 2cm from the yoke, and 4cm from the waistband.
We recommend finishing up your toile after you’ve done this, just to ensure you’ve achieved the snug, figure-hugging fit you set out to.
Et voila – that’s it! A perfectly fitting waistband for the ultimate pair of jeans.

The Heidi Jeans Sewing Pattern
Now, back to those gorgeous Heidi Jeans sewing pattern from By Masin.
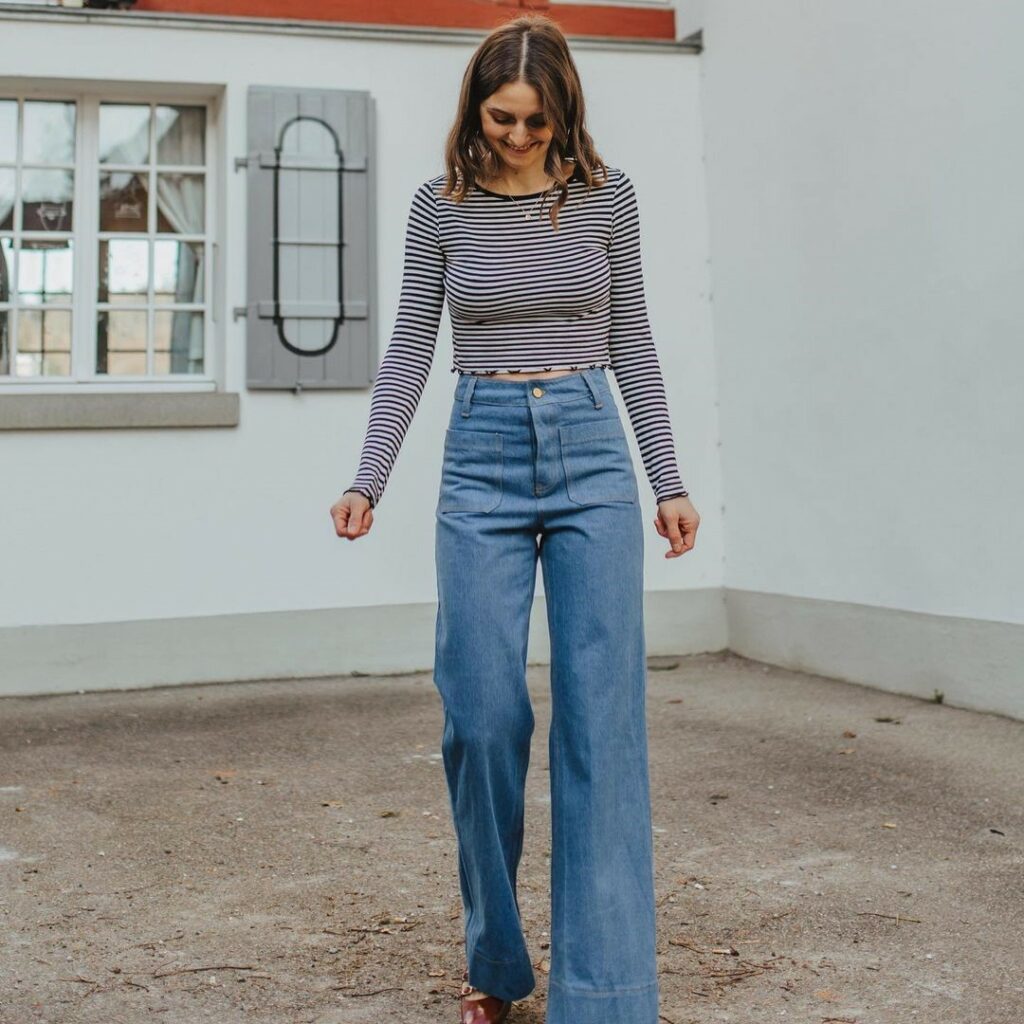
This a pair that makes a statement, with an incredibly flattering, super high waist (perfect for testing out our gap-fixing trick!) and a wide-leg fit, it’s the on-trend pattern for the jeans of your dreams.
Choose from three different length options: full length, ankle length, and shorts.
Super cute front patch pockets give a playful look, while the back features the yoke and more patch pockets. Oh yeah, that’s four pockets on women’s clothing – what a win for the ladies. Of course, nothing is stopping the fellas out there from enjoying this chic pair of jeans, and our pattern adjustments will help them fit better to your body.
Our Fabric Picks for the Heidi Jeans Sewing Pattern
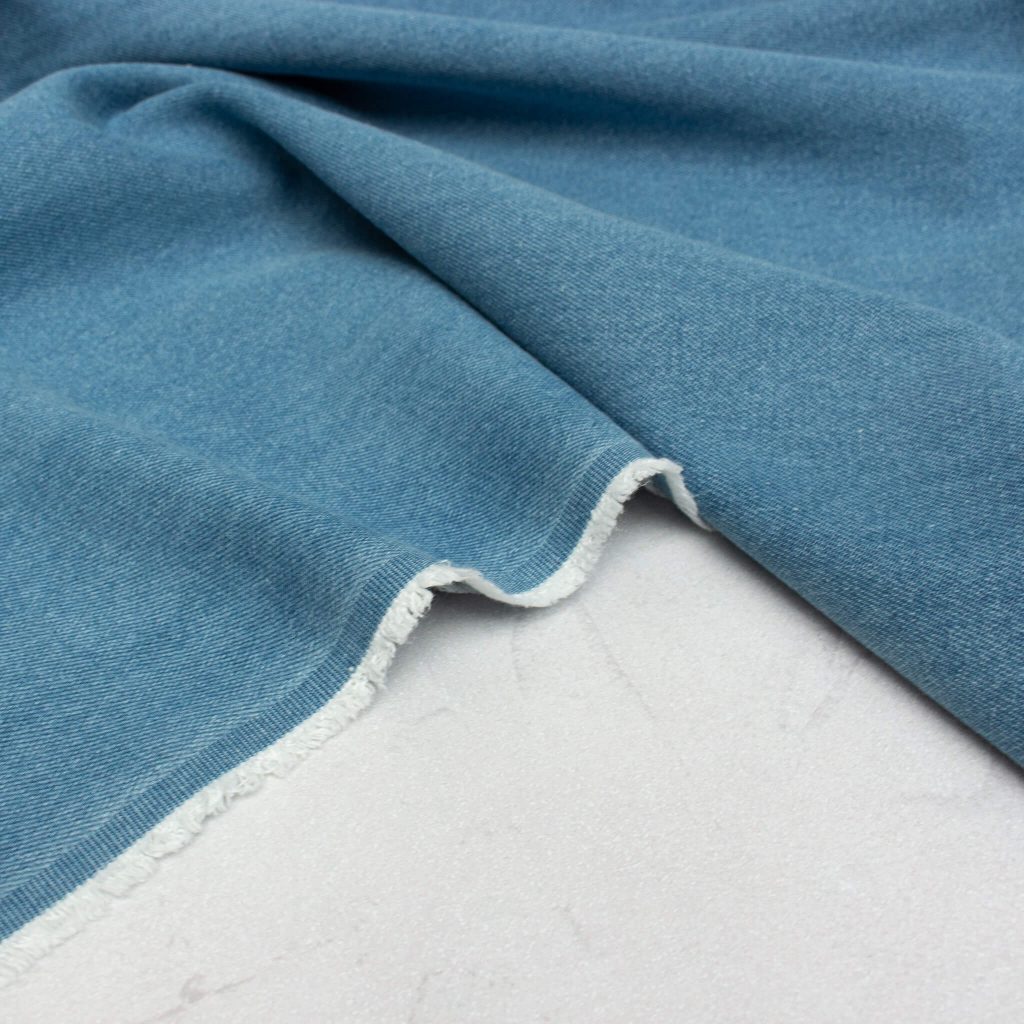
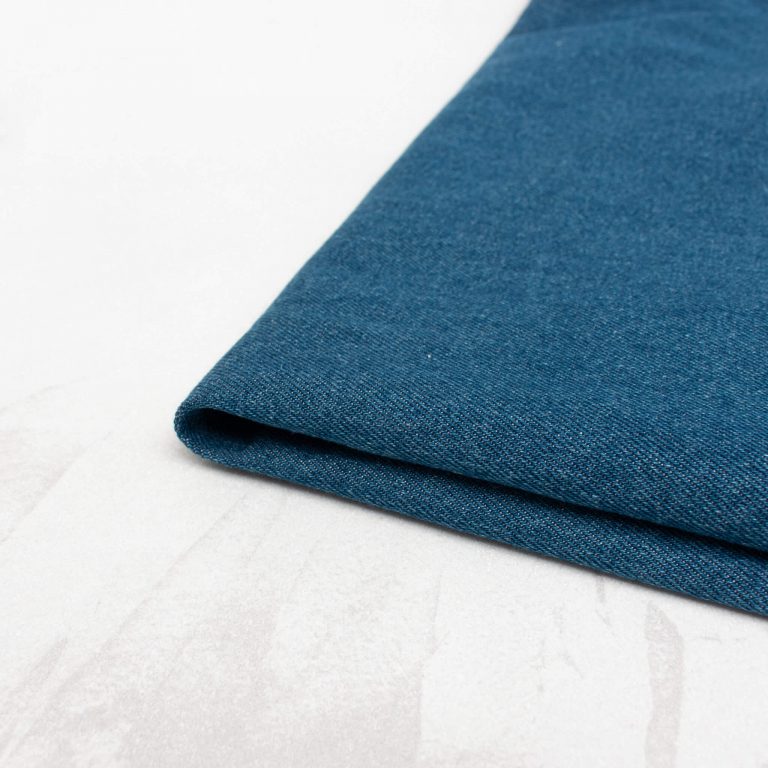
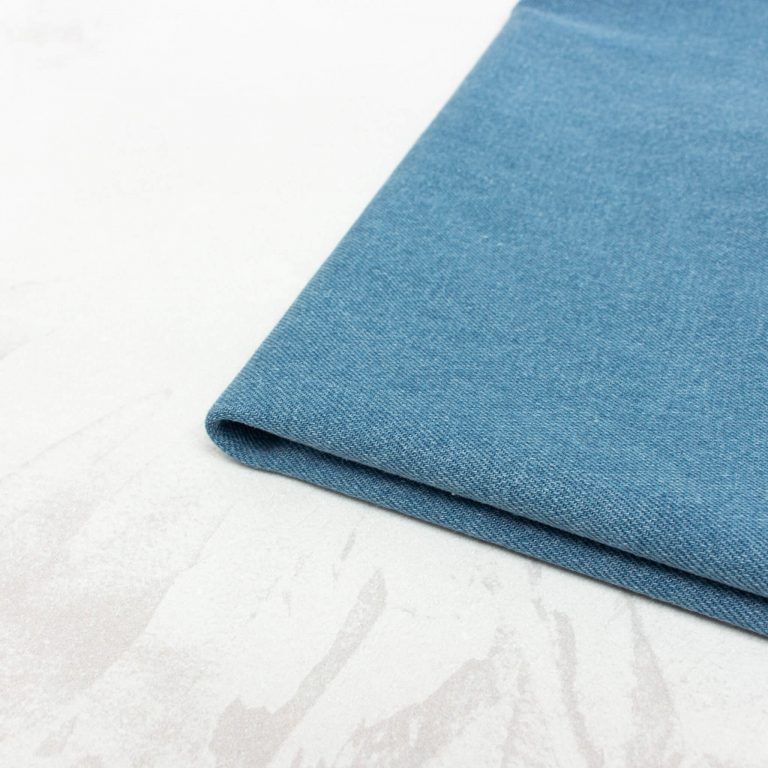
For the Heidi Jeans sewing pattern, we wanted chic denim to match the effortlessly cool vibe of this look. The 12oz Washed Denim in Mid Blue was the obvious choice, made from 100% cotton (no elastane here!) it’s super soft and pliable, making it one of the more comfy types of denim we’ve tried. It also comes with the Oeko-Tex credential, meaning that you won’t be exposed to harmful chemicals when working with the fabric.
Polina paired the Mid Blue Denim with the Gutermann Denim Thread for a polished finish. Robust and colourfast, it’s a reliable choice for any denim project. The thread can be used for both the top sewing thread and the bobbin on your sewing machine, and with a lot of topstitching in this pattern we recommend two reels so that have plenty to get you through.
We’ve also picked a tonal match thread to hide any topstitching wobbles. If sewing in a straight line isn’t your forte, it’s a safe choice.
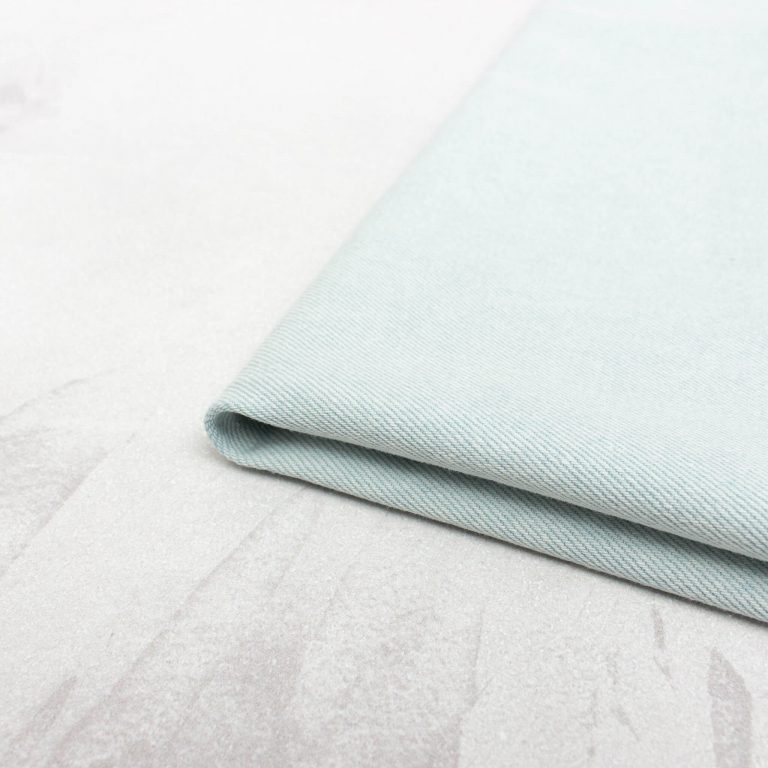
For all our creatives out there, why not play around with different fabrics for this pattern, too? Create a pair of breezy trousers using one of our eco-friendly Linens, shaking up your style with a bold colour choice or keeping things chill with a laid-back neutral.
You can also check out #HeidiPantsByMasin on Instagram for plenty of juicy inspo to inspire your next jeans project.
Share Your Heidi Jeans Sewing Pattern Projects With Us
Now we’ve nailed the perfect pair of jeans using the Heidi Jeans Sewing Pattern and our tips to fix gaping backs, it’s time to explore new options. We’re thinking of slightly tapered, ankle-length trousers with a rolled-up hem. Should be fairly easy to do, right?
If you’ve been getting creative with your jean patterns, please do share them with us. Hop over to our Instagram @good_fabric_store and send us your jean snaps and sustainable haberdashery, and let’s keep the inspiration flowing.

